We may get commissions for purchases made through links in this post. Thanks for the support! 👍
Alright, so over my years of having low budget cars I have spray painted plenty of cars. Yes, I mean spray paint, like rattle cans.
It’s actually a lot of fun! However it also is very permanent and not a great option when you are wanting to make your truck or car look cooler, without messing up something someone might like when you sell the vehicle.
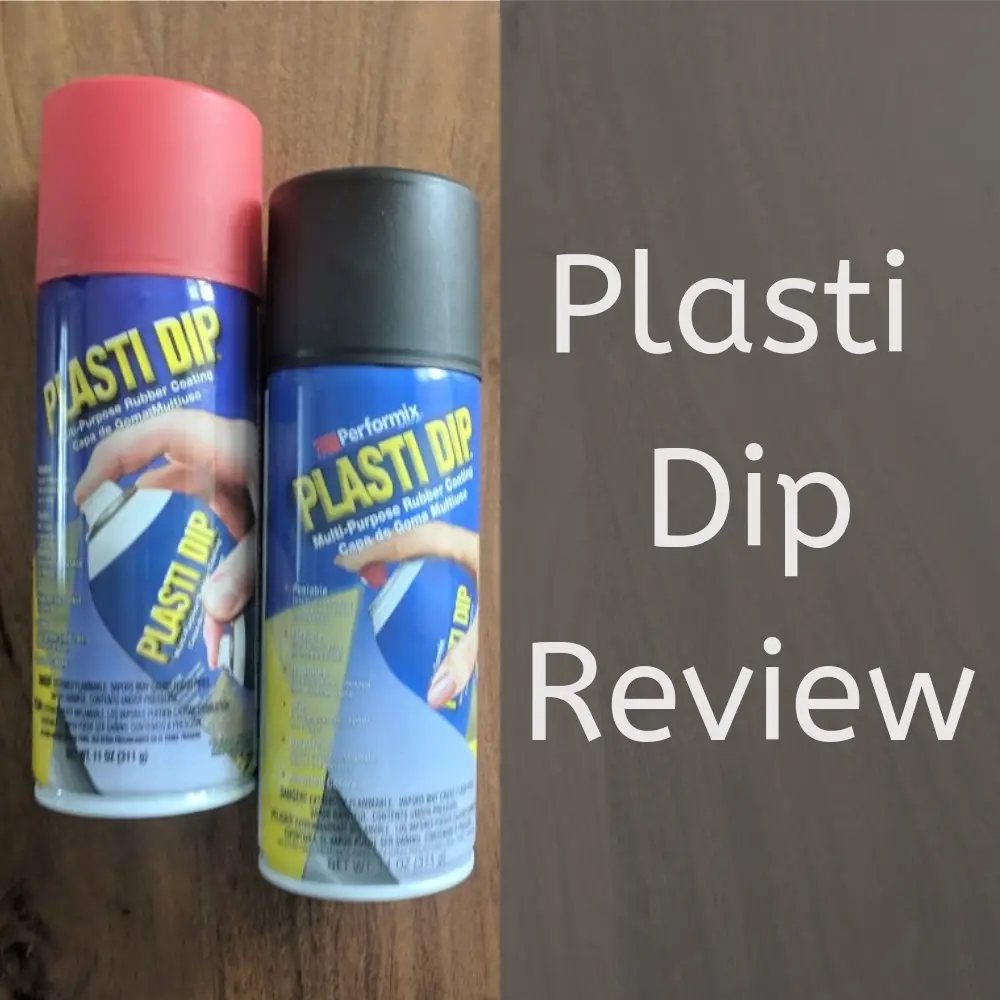
Enter Plasti Dip! Plasti sip came into the scene as a plastic coating for tool handles, however they have now for some time been making spray can bottles of the stuff that work awesome for making temporary paint jobs for your car.
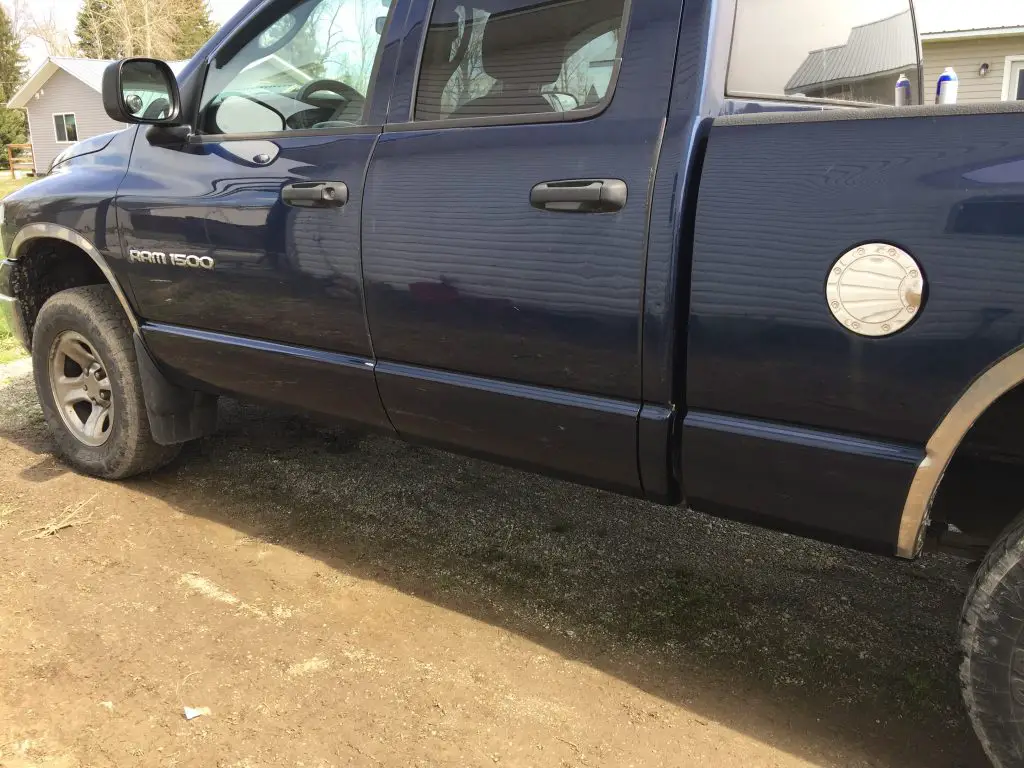
Enter my truck! I’ve never been one to have a completely normal looking vehicle, my Dad made sure of that in my upbringing.
So I had to have a two tone look!
All this took was a couple of black Plasti Dip cans and an afternoon!
Let’s run through how I did it!
Step 1
Clean truck. Make sure to clean whatever part of the vehicle that you plan on spraying.
I was impatient and just used water in a bowl and rag.
Step 2
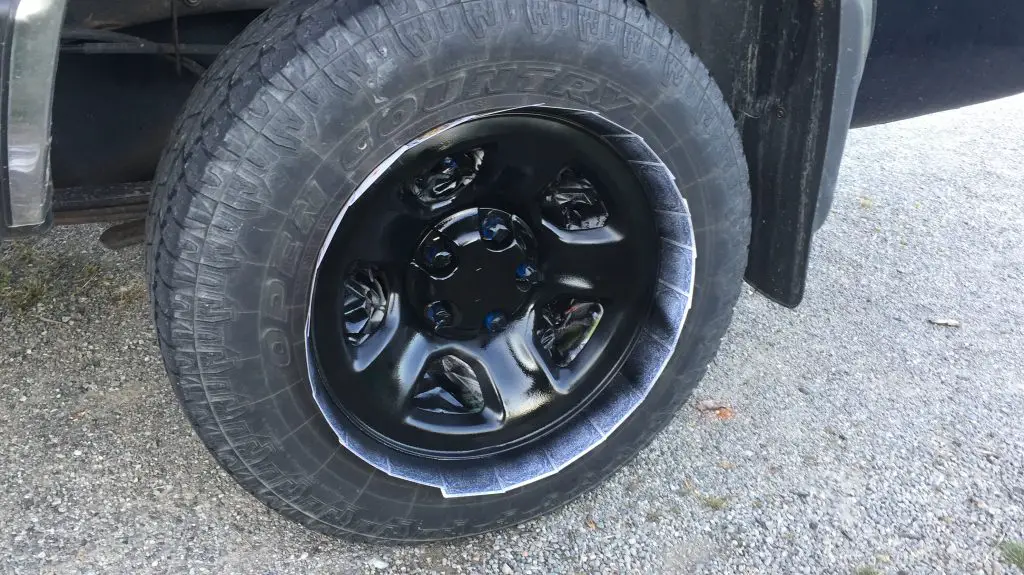
For gosh sakes let it dry. I didn’t let it dry and caused some issues.
On my rims I didn’t let it dry and the Plasti Dip dried on top of the water and caused a bubble.
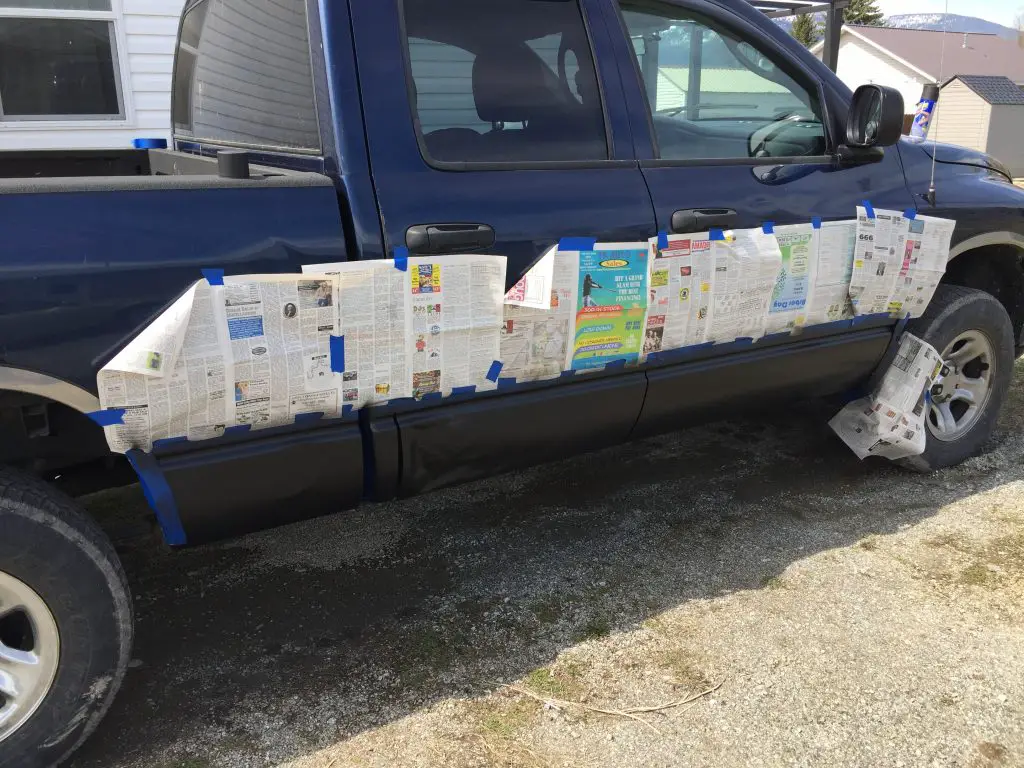
Step 3
Mask off the area that you are spraying. Nice thing about Plasti Dip is it is very forgiving.
So if you mess up, you can just do it again.
With my rims I actually masked them off with playing cards. I found this by doing some Google searching.
Step 4
Spray first layer, this layer needs to be very light, as it acts as a bonding layer or a primer.
Step 5
After waiting around 10-15 minutes spray a heavier layer. Repeat this until you get the desired thickness. Normally around 3 coats or so will be good.
Step 6
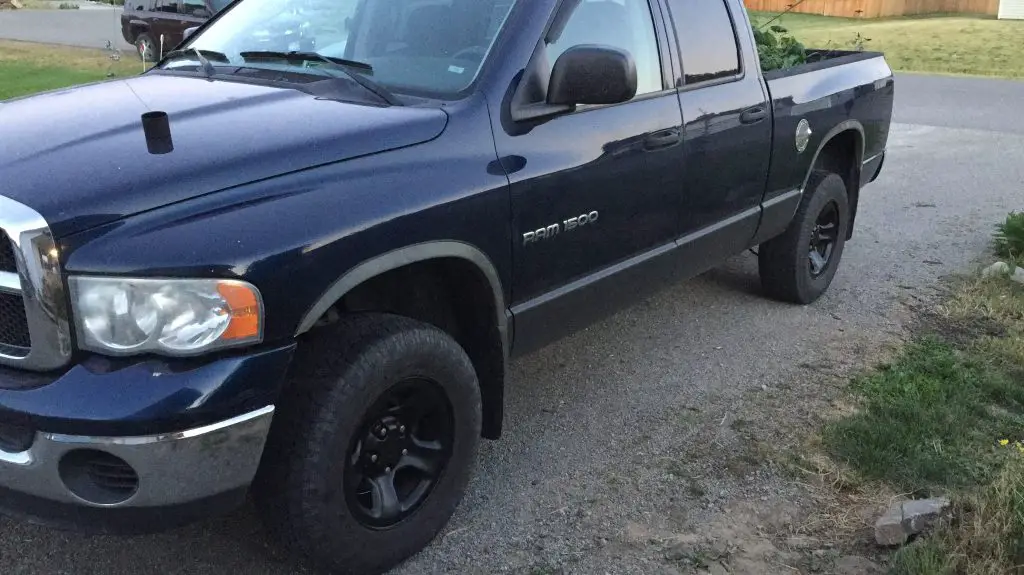
Remove masking tape and enjoy the new look!
What I would have done differently?
The main thing I wish I had known to do better is hard lines.
When you are removing tape off of a hard line, make sure you spray where the tape meets the finished paint to make it damp. Then tear it off at a very steep angles.
This will keep the Plasti Dip from stretching.
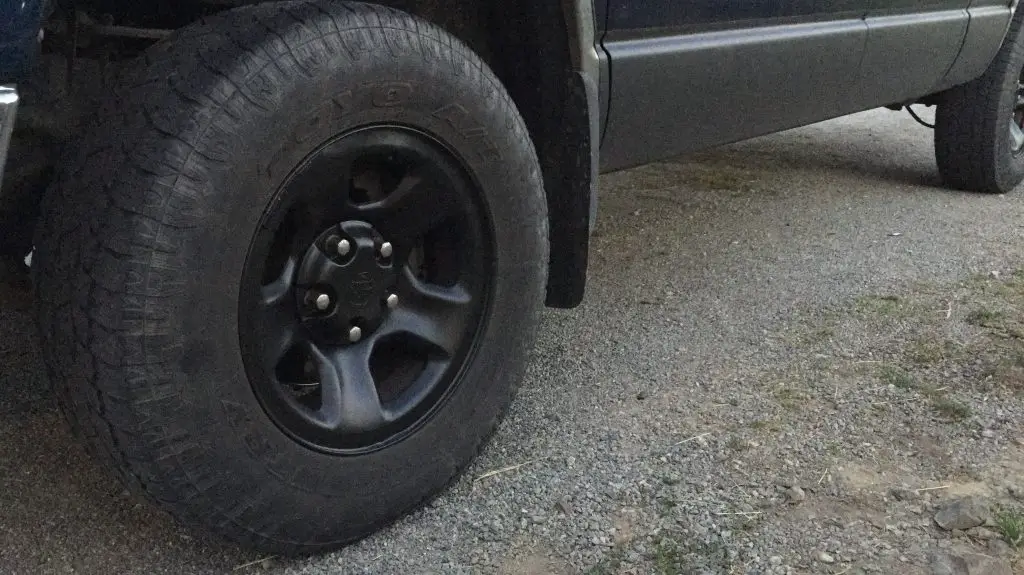
Conclusion
Plasti dipping my rims and the bottom of my truck was a lot of fun! And it was easy!
I like that I can finally have some choices on modifying my truck without making permanent changes.
Now…. What else can I Plasti Dip for the fun of it.
Interested in other ways to modify your truck? Check out this article about how I installed an awesome Console Vault, or to get crystal clear headlights on your older vehicle, this is great way to fix that.
![The StopBox Is Best Handgun Retention Device [MUST READ]](https://amanandhisgear.com/wp-content/uploads/2019/06/Stopbox-lock-1024x768.jpg)