We may get commissions for purchases made through links in this post. Thanks for the support! 👍
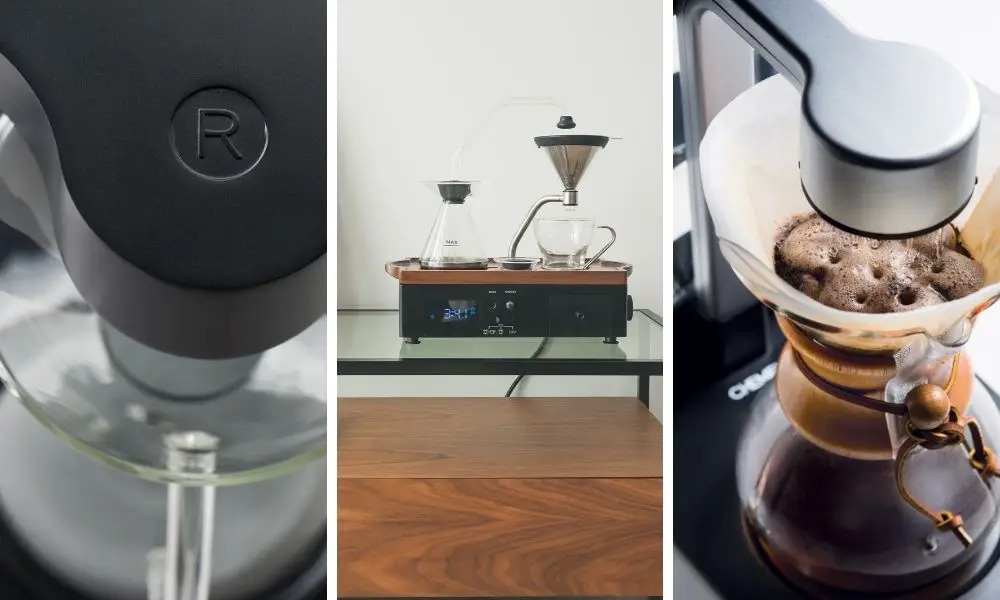
There are a couple different reasons why you would clean your coffee maker regularly!

Firstly, just to keep the thing sanitary seems to come to mind. Secondly, over time calcium deposits will build up in the lines of your coffee maker. Once the build up too much it can begin to restrict water flow, and keep your coffee maker from working properly.
Thankfully both of these issues be resolved early be just going through a couple simple steps!
How to clean a coffee maker with vinegar
Using a vinegar solution is probably the most common way people will clean a coffee maker. This is mainly because it keeps toxic chemicals out of your coffee makers system, and also because most people have vinegar in their home already.
I personally use this method as my main way to clean my coffee maker, and it seems to work awesome!
Things you need to have ready
- White Vinegar
- Water
Steps to clean the coffee maker
- Remove filters and coffee grounds – Yes I know you aren’t supposed to, but let’s be honest, everyone leaves the coffee grounds in the filter and basket until you make your next cup. Make sure to remove that before cleaning! And yes, I have made that mistake quite a few times.
- Create your vinegar solution – Your solution will be a 1 to 1 ratio of water to vinegar (verify with your manufacturer on this, as some may be different). I generally mix my solution in my coffee makers removable water reservoir, however if you don’t have a removable reservoir, making it in an already cleaned carafe works as well!
- Run the coffee maker – After putting your solution into your water reservoir (if it isn’t already), run the coffee maker on either its normal cycle, or if your coffee maker has a clean cycle, it’s probably best to use that at this point.
- Repeat step 2 and 3. I have found my light doesn’t like to turn off on my coffee maker unless I’ve done these steps a couple of times. It can’t hurt to be extra clean.
- Run the coffee maker without solution – You are going to want to run your coffee maker through its normal brew cycle at least 3 times or more before drinking coffee. I don’t know if you have ever had vinegar in your coffee before… but it isn’t good…
- Clean anything water or coffee will touch – Now that you have run all of the cycles, and the vinegar is out of the lines, make sure to take this final step to re-clean anything the coffee or water might touch. Like the water reservoir, coffee bin or your carafe.
Cleaning Your Coffee With Store Bought Solution
There are some great solutions for cleaning your coffee maker that can be bought at the store. I can assume they clean better, however you are introducing chemicals into your coffee maker, which not many people seem to like.
As for a step by step, ever version is going to be a bit different, however it should be very similar to cleaning your coffee maker with vinegar, just with a different solvent.
Best Coffee Maker Cleaner
I did some searching for the coffee maker cleaner I personally would buy online, and there were two that stood out to me.
Generally speaking, I like to buy a brand I at least recognize, so that I know the brand has something to lose if they don’t make a great product, so I landed on either the Chemex Automatic Coffee Maker Cleaner or Keurig cleaning solution that you will find right here.
How often should you clean your coffee maker?
Based off of my research, you should clean your coffee maker completely at least once a month.
This includes the exterior, and running it through some cleaning cycles to make sure that the calcium deposits and anything else in the lines may be cleared completely out.
On my Ninja Coffee Bar, the light that tells me it needs cleaned will turn on every couple of months. However that is based off of an interior sensor to the machine. So even still, once a month seems like a safe bet!
One thing you don’t want to do, is to let the machine go too long. I had a Keurig a while back that wasn’t cleaned regularly enough, and it completely destroyed the machine.
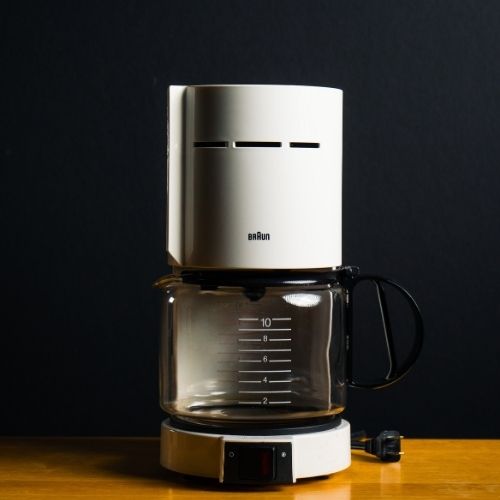
Make sure to clean everything else on the machine
There are of course quite a few other things you need to clean on your coffee, like the exterior of the coffee maker, as well as any removable parts that you can take off of it.
Even the Exterior
The best way to clean the exterior of your coffee maker is to get a bowl of hot water, put some soap in it. Once you have that, dip a rag in it and clean the exterior of the machine completely.
This includes the base where the carafe or mug goes, the buttons and everywhere else.
Just make sure not to get too much water on anything that has electrical components.
- Which is Better For You: A Coffee Maker or An Espresso Machine?
- Top 10 Best Camping Coffee Makers
- Top 6 Best Coffee Makers and Accessories At Costco
Don’t forget the removable parts
When cleaning the exterior of the coffee maker, I like to completely remove any parts that can be removed and wash them separately like I would normal dishes.
Most of these parts, like the filter bin, and the reservoir tend to see the most amount of water and coffee on them, so build up can be pretty heavy.
Washing them with the dishes tends to mean you will get them completely clean!
Will any other vinegar other than white vinegar work?
I wouldn’t recommend using any other vinegar other than white vinegar. Other types of vinegar tend to have particles in them that would more than that the purpose of cleaning your coffee maker in the first place!
Conclusion
You need to make sure your coffee maker stays clean, so that it will work for years to come, and also to make you coffee reliably every day.
While I would recommend the vinegar method, because it is cheap and gets the job done well, there are of course other ways of handling this job.