We may get commissions for purchases made through links in this post. Thanks for the support! 👍
I think I can summarize this article for you really quickly. If you have an Aeropress, you need a Prismo. If you don’t have an Aeropress, go get one, then get a Prismo. If you don’t want to buy an Aeropress, by a Prismo, find a friend that has an Aeropress and use theirs every day.
Okay, so I wouldn’t recommend that last one, as you may overstay your welcome a bit. However you really should get yourself a Prismo and an Aeropress! I really enjoy my Aeropress and it has become my daily driver, and I would say I use my Prismo probably half of the time
Update: While editing this article before releasing it, I have been using the Prismo only for the past week or two.
Fellow Products was kind enough to send this Prismo out to test free of charge, however all opinions are my own!
So with that out of the way, let’s dig into why the Prismo is the best Aeropress accessory!
Easy to use
Yep, this is the first feature I want to mention! Using the Prismo has really no learning curve at all. If you are familiar with using an Aeropress, you will be right at home with the Prismo.

It uses really the same exact procedures as the Aeropress, but just allows for a bit more pressure (and a bit of science) to create an impressive Espresso-like experience.
Inexpensive espresso like coffee
Looking for an espresso maker (manual or automatic) but just can’t quite take it upon yourself to spend that much? The Prismo is a great alternative, and allows you to have something similar, but inexpensive.
As of right now, I am using the Breakfast Blend Folgers coffee, and I’ll be honest, its really good. Yeah, that’s right, Folgers tastes good with the Prismo, think about that for a minute.
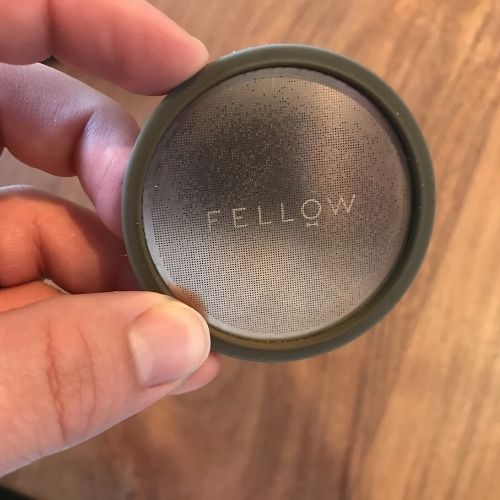
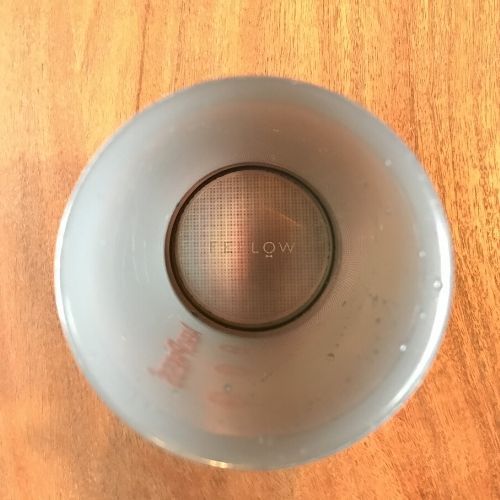
No drip seal
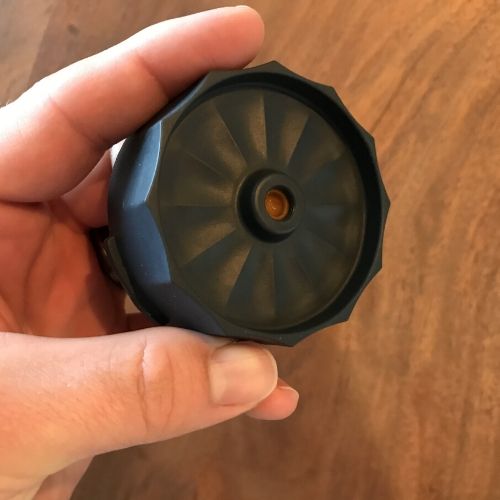
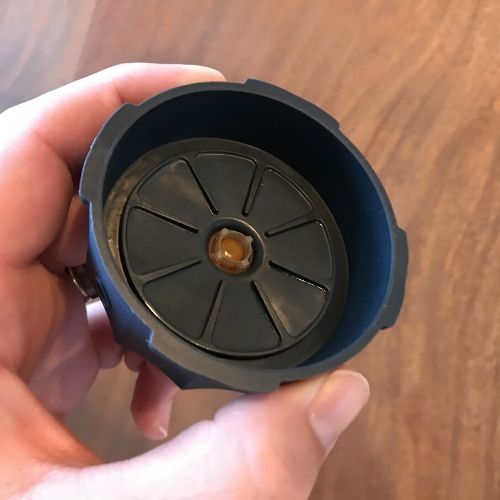
The no drip seal is awesome! One of the difficult things about the standard Aeropress is that if you are brewing normally (not inversion brewing) the coffee tends to leak through the filter when you are still trying to brew.
However with this no drip seal, it won’t go through the filter, meaning you can make stronger coffee than standard.
This seal also allows you to be able to make cold brew! Have I tried that yet? No… because I’m too impatient.
What I really liked about it
I really like everything about the Prismo, it was exactly what I expected and so much more. It is awesome to just have a quick attachment that completely changes how my Aeropress brews coffee.
Being able to decide at a moment’s notice that I want to have a stronger, fuller bodied cup of coffee, but still use the convenience of an Aeropress is just awesome.
What I didn’t like about it?
I’m not totally sure what exactly is causing it, however if I leave the Prismo attached to the Aeropress, it sometimes bends out the support of the Prismo, causing it to not seal correctly.
This is easy to fix though, as I just don’t leave them attached and everything goes back to normal.
Moral of the story, don’t be quite as lazy… just clean the Aeropress like it is supposed to, and you won’t have any issues.
Pros
- Easy to use
- Inexpensive
- Fun
- Makes awesome coffee
- Quick brewing
Cons
- Made of plastic
- Need to take care of it, or it can bend the Aeropress
Who is it for?
If you are anything like me, and you want to be more a part of your coffee brew process, this coffee maker is for you!
Unlike using a Moka Pot, a pour over, or other coffee makers, the Aeropress with the Prismo is really fool proof.
It’s easy to use, quick to use, and easy to clean up.
Where can you buy it?
You can buy the Prismo from a couple different places! However I recommend you buy it directly from the manufacturer on their website.
It costs $25, and that will be the best $25 you have ever spent on a coffee accessory.
How do you use fellow prismo?
Using the Prismo, is just like using an Aeropress! You can tinker around with the recipes based on what you want in your cup of coffee every morning.
I personally follow these steps:
- Assemble Aeropress, and attach the Prismo to the bottom.
- Set the Aeropress on top of my mug.
- Boil water
- Add 20mg of coffee into the Aeropress
- Pour hot water into the Aeropress
- Stir coffee for 10 seconds or until grounds are completely stirred into the mixture and not sitting on top
- Let sit for 50 seconds
- Plunge the coffee through the Prismo
- Add a bit more hot water to the coffee
- Add some milk
- Drink
Can you make cold brew with an AeroPress?
Yes, yes you can! I personally haven’t tried it quite yet, however it can be done. You’ll mainly be following these steps, but with an Aeropress.
Alternatives to the Prismo
Alright, so you aren’t going to pay attention to my advice, and you aren’t quite sold on the Prismo. Well, here are a few alternatives for you to take a look at.
Of course you could always just read this article, where I talk about the best portable coffee makers. However you’ll find the Aeropress and Prismo at the top.
Conclusion
As I have mentioned before, if you are looking to replace your automatic coffee maker for very little cost, owning an Aeropress and a Prismo is the way to do it.
It is considerably more fun, you get to make the coffee the way you want, and not the way the coffee maker wants you to, and it is cheaper than most “good” automatic coffee makers.
If you want to learn more, make sure to click the button below to visit Fellow Product’s website. Otherwise, this review of the Aeropress Go might also be of interest.
![The StopBox Is Best Handgun Retention Device [MUST READ]](https://amanandhisgear.com/wp-content/uploads/2019/06/Stopbox-lock-1024x768.jpg)